 |
 |
How do I connect to the shared network drive (SMC, also referred to as the P: drive) from my macOS computer?
These instructions are for students' personal computers on campus with macOS 12 (Monterey) or later.
Once you have completed these steps, you should not need to repeat them.
What are shared network drives?
Students, faculty, and staff at Saint Mary's College are given access to various shared network drives, depending on their department and materials needed. The file server for shared network drives is mavis. Shared network drives are accessible from any networked computer on campus. All students, faculty, and staff have access to the shared network drive named SMC (also known as the P: drive). Several folders will be visible when you open the SMC network drive:
For each department/group that has an account on SMC, a folder will be visible. All members of the Saint Mary's community will be able to see the listing of folders for departments/groups. The contents of the folders in SMC will be visible only to the individuals with permission to view them. Department/group accounts may have a subfolder named Public that will be accessible to all members of the Saint Mary's community. The decision to offer items in a Public folder is up to each individual department/group.
You may also need to connect to personal network drives. Instructions for mounting your personal network drive (which only you have access to) are available on the here.
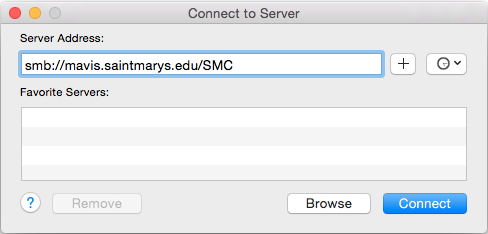
Instructions for computers running macOS versions macOS 12 (Monterey), macOS 13 (Ventura), and macOS 14 (Sonoma):

Note: if you wanted to mount a specific folder on the SMC shared network drive, you can do so. For example, if you wanted to mount the Public folder inside the Infotech folder, which is in the Departments folder on the SMC shared drive, you would type in smb://mavis.saintmarys.edu/SMC/Departments/Infotech/Public - if a folder has a space in the name, please include that space in the path name.
Last Modified August 18, 2024